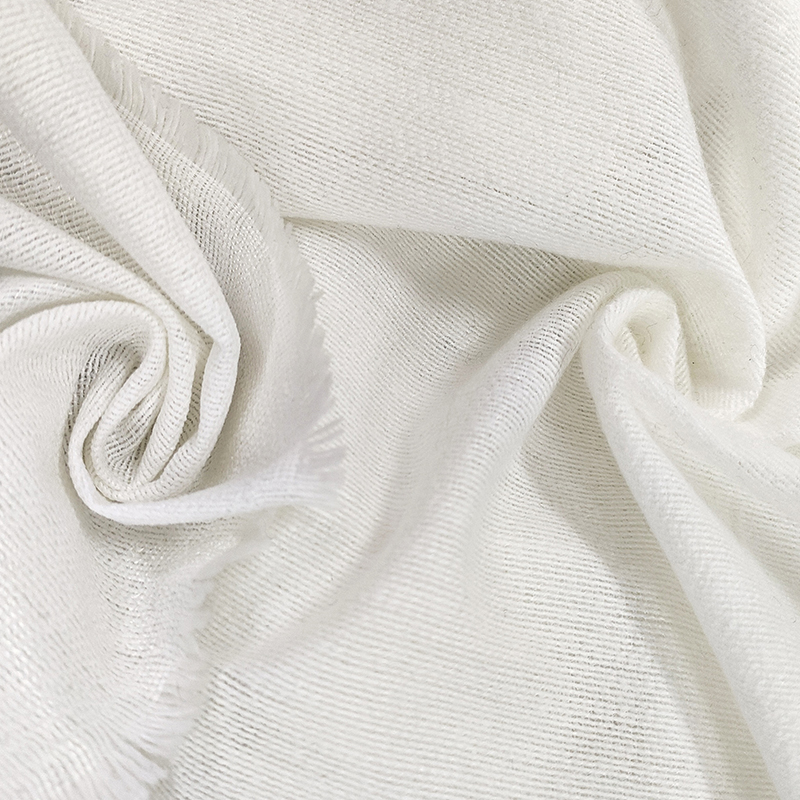
Um ein Gummiband richtig zu messen, müssen vier Zahlen erfasst werden: Länge im flachen Zustand, Schnittbreite, Dicke und maximale gedehnte Länge. Sobald Sie über diese vier Werte verfügen, können Sie die richtige Bundlänge berechnen, die Lieferantenkonsistenz vergleichen und das Nachschneiden von Kleidungsstücken in der Produktion vermeiden. Der gesamte Vorgang dauert etwa zwei Minuten pro Probe, dennoch ist es der Schritt, der sowohl beim Heimnähen als auch bei der Qualitätskontrolle in der Fabrik am häufigsten übersprungen oder falsch ausgeführt wird.
Hier ist die direkte Antwort: Drücken Sie das Band an beiden Enden zusammen, sodass die beiden Schichten so nah wie möglich aneinander liegen, legen Sie es flach auf eine harte Oberfläche, ohne es zu dehnen, und messen Sie von Ende zu Ende. Dieser Wert ist die flachgelegte Länge. Die Breite wird über das entspannte Band gemessen, und die Dicke wird an einer einzelnen Schicht mit einem Messschieber und nicht mit einem Lineal gemessen. Die maximale Dehnungslänge wird aufgezeichnet, indem am Band gezogen wird, bis es gerade Widerstand leistet, bevor eine sichtbare Verengung oder bleibende Verformung auftritt.
Die Folgen einer falschen Messung sind nicht theoretisch. Ein um 10 Prozent zu langer Schnitt für den Bund wird nach mehrmaligem Tragen durchhängen, und ein um 10 Prozent zu kurzer Schnitt hinterlässt rote Flecken an der Taille und erschwert das Anziehen des Kleidungsstücks. In der Produktion sind die Kosten eines Messfehlers selten das Gummiband selbst; Es liegt an der Arbeit, dem Stoff und dem verpassten Liefertermin.
Die drei statischen Dimensionen eines Gummibandes
Gummibänder werden in Lieferantenkatalogen und Bestellungen anhand von drei statischen Dimensionen beschrieben. Jede Abmessung wird unabhängig gemessen, und die Reihenfolge ist normalerweise Breite × flache Länge × Dicke. Ein Band mit der Aufschrift 25 mm × 250 mm × 0,8 mm ist 25 mm breit, hat eine flachgelegte Länge von 250 mm und ist 0,8 mm dick.
| Dimension | So messen Sie | Gemeinsame Einheit | Warum es wichtig ist |
|---|---|---|---|
| Flache Länge | Drücken Sie beide Enden zusammen, halten Sie die Schichten parallel und messen Sie Ende an Ende | cm oder mm | Bestimmt die Größe der elastischen Schlaufe für die Taille oder Manschette |
| Schnittbreite | Messen Sie quer über das Band, senkrecht zur Länge, ohne es zu dehnen | mm | Muss zur Gehäusebreite passen; Eine Abweichung von 1 mm kann zu Faltenbildung führen |
| Dicke | Messen Sie eine einzelne Schicht mit einem Messschieber an beiden Enden und in der Mitte | mm | Beeinflusst das Handgefühl und den reibungslosen Vorschub des Bandes unter einem Nähfuß |
Wenn Sie ein altes Band eines vorhandenen Kleidungsstücks ersetzen, schneiden Sie die Naht ab und messen Sie die gesamte Schlaufe, um den Umfang zu ermitteln. Teilen Sie diese Zahl durch zwei, um sie in die flach liegende Länge umzuwandeln, die die meisten Lieferanten in ihren Größentabellen verwenden. Beispielsweise benötigt eine Pyjamahose mit einem Innenumfang von 60 cm einen Ersatzgummi mit einer flachliegenden Länge von etwa 30 cm, bevor die Verbindung berücksichtigt wird.
Schritt-für-Schritt-Messverfahren für elastische Bänder
Um ein Gummiband in weniger als drei Minuten zuverlässig zu messen, befolgen Sie diese Reihenfolge. Es folgt der gleichen Logik, die Textillabore bei der Prüfung von Stretchmaterialien anwenden, und liefert wiederholbare Zahlen, selbst wenn zwei verschiedene Personen die Messungen vornehmen.
- Konditionieren Sie das Band. Lassen Sie das Gummiband mindestens vier Stunden lang bei einer Raumtemperatur von etwa 20–25 °C liegen. Luftfeuchtigkeit und Lagerspannung können die entspannte Länge gestrickter Gummibänder um mehrere Prozent verändern.
- Legen Sie das Band flach hin. Verwenden Sie eine harte Oberfläche, keinen Stoff, und stellen Sie sicher, dass das Band durch die Lagerung nicht verdreht oder aufgerollt ist.
- Die Enden zusammendrücken. Bringen Sie die beiden Enden der Schlaufe zusammen, sodass beide Seiten parallel und so nah wie möglich liegen. Halten Sie die eingeklemmte Stelle mit Ihren Fingern fest.
- Messen Sie die Liegelänge. Führen Sie ein Lineal oder Maßband vom eingeklemmten Ende zum gefalteten Ende, ohne am Band zu ziehen.
- Messen Sie die Breite. Legen Sie das Band flach hin und messen Sie den Mittelteil. Vermeiden Sie Kanten, die durch Schneiden oder Wickeln zusammengedrückt werden könnten.
- Messen Sie die Dicke. Verwenden Sie eine Skala oder einen digitalen Messschieber auf einer einzelnen Ebene an drei Positionen: an jedem Ende und in der Mitte. Nehmen Sie den Durchschnitt.
- Notieren Sie die gestreckte Länge. Halten Sie beide Enden fest und ziehen Sie vorsichtig, bis das Band fest, aber nicht schmal wird. Beachten Sie die maximale Länge, bevor sich das Material zu verformen beginnt.
- Wiederholen Sie dies an drei Proben. Mitteln Sie die drei Messwerte und geben Sie auch die Mindest- und Höchstwerte an, damit Sie sehen können, wie konsistent die Charge tatsächlich ist.
Der häufigste Fehler in dieser Sequenz besteht darin, dass beim Aufzeichnen der Lay-Flat-Länge leicht am Band gezogen wird. Bereits wenige Millimeter Spannung können dazu führen, dass ein 25-cm-Band 27 cm misst, was zu einem sichtbar lockeren Bund führt.
So berechnen Sie die elastische Länge für einen Bund
Das Zuschneiden des Gummibandes auf die richtige Länge für einen Bund ist eine Berechnung, keine Schätzung. Die praktische Regel, die von Musterschneidern angewendet wird, besteht darin, das Gummiband abzuschneiden 15 bis 25 Prozent kürzer als die Körpermaße. Der genaue Prozentsatz hängt von zwei Dingen ab: der Erholungsrate des Gummibandes und der Struktur des Stoffes um es herum.
Ein fest gewebtes Gummiband mit hoher Erholung kann bei minus 20 bis 25 Prozent geschnitten werden. Ein weich gestricktes Gummiband mit allmählicher Erholung schneidet bei minus 10 bis 15 Prozent besser ab. Wenn der Mantelstoff dick und nicht dehnbar ist, verwenden Sie die geringere Reduzierung, damit das Anziehen des Kleidungsstücks nicht schwierig wird.
Erforderliche elastische Länge = Körpermaß × (100 % − Reduktionsrate)
Beispiel: Taillenumfang 80 cm, Reduzierung 20 % → 80 × 0,80 = 64 cm
| Taillenumfang | 10 % Ermäßigung | 15 % Ermäßigung | 20 % Ermäßigung | 25 % Ermäßigung |
|---|---|---|---|---|
| 70 cm | 63.0 | 59.5 | 56.0 | 52.5 |
| 80 cm | 72.0 | 68.0 | 64.0 | 60.0 |
| 90 cm | 81.0 | 76.5 | 72.0 | 67.5 |
Eine nützliche Leistungsprüfung ist die Dehnungsverhältnis , berechnet als gestreckte Länge ÷ flachgelegte Länge. Die meisten elastischen Bänder in Bekleidungsqualität haben ein Dehnungsverhältnis zwischen 1,5 und 2,5. Unter 1,5 fühlt sich das Band zu fest für einen bequemen Bund an; über 3,0 verliert es normalerweise an Erholung und sackt beim Tragen ab. Dieses Verhältnis ist auch die häufigste Spezifikation, die Bekleidungsfabriken von elastischen Lieferanten verlangen.
Abnahmetoleranzen für elastische Bänder in der Bekleidungsproduktion
Auch bei korrektem Messverfahren variieren die Gummibänder von Charge zu Charge. Eine Bekleidungsfabrik sollte nicht jede Rolle blind akzeptieren; Legen Sie stattdessen klare Toleranzen fest, bevor Sie die Bestellung aufgeben. Die folgende Tabelle zeigt typische Akzeptanztoleranzen, die der gängigen Branchenpraxis für gewebte und gestrickte Bekleidungsgummis entsprechen. Tests für die Dehneigenschaften von elastischen Stoffen werden häufig nach Methoden wie ASTM D4964 durchgeführt, bei denen eine konstante Dehnungsrate angewendet und Spannung und Dehnung aufgezeichnet werden.
| Parameter | Typische Toleranz | So überprüfen Sie |
|---|---|---|
| Flache Länge | ±2 % oder ±5 mm, je nachdem, welcher Wert größer ist | Messen Sie 5 Stichproben von der Rolle |
| Breite | ±0,5 mm für gewebt; ±0,8 mm für gestrickt | Bremssattel in der Mitte des Bandes |
| Dicke | ±0,1 mm | Durchschnitt aus drei Messschiebermessungen |
| Dehnungsverhältnis | ±0,15 vom Zielverhältnis | Gestreckte Länge ÷ flachgelegte Länge |
| Erholung nach Dehnung | Mindestens 85 % der ursprünglichen Länge innerhalb von 30 Sekunden | Auf 200 % dehnen, loslassen, erneut messen |
Die Rückgewinnung ist die Zahl, die die meisten Abwasserkanäle und kleinen Fabriken nicht überprüfen. Zwei Gummirollen können identische Abmessungen haben, doch die eine federt perfekt zurück, während die andere den gedehnten Zustand beibehält. Wenn Ihre Kleidungsstücke nach dem zweiten Waschen lockere Bündchen entwickeln, testen Sie die Erholungsrate, bevor Sie den Nähprozess dafür verantwortlich machen.
Sechs häufige Fehler beim Messen von Gummibändern
In der täglichen Praxis sind Messfehler selten technischer Natur. Sie entstehen durch kleine Gewohnheiten, die sich im Moment harmlos anfühlen, aber zu inkonsistenten Zahlen führen.
- Messung im gestreckten Zustand. Das Band liegt auf der Rolle auf natürliche Weise unter Spannung, daher wird es im leicht gedehnten Zustand gemessen. Konditionieren Sie das Band immer zuerst mehrere Stunden lang flach.
- Verwechselt die flach liegende Länge mit dem Schlaufenumfang. Bei einer geschlossenen Schleife beträgt der Gesamtumfang ungefähr das Doppelte der flachgelegten Länge. Durch die Bestellung der falschen Nummer wird das Band um den Faktor zwei zu kurz oder zu lang.
- Verwenden Sie ein Lineal, ohne die Enden einzuklemmen. Wenn die beiden Schichten nicht parallel sind, umfasst die Messung die Kurve an der Falte und das Ergebnis ist zu lang.
- Nur eine Probe messen. Ein einzelner Messwert sagt nichts über die Chargenvariabilität aus. Für einen zuverlässigen Mittelwert sind mindestens drei Proben aus verschiedenen Teilen der Rolle erforderlich.
- Mischeinheiten. Eine Bestellung, bei der Zentimeter und Zoll gemischt werden, ist fast eine Garantie dafür, dass eine Rolle Gummiband verschwendet wird.
- Nahtzugabe vergessen. Für eine flache Stoßnaht benötigt die elastische Naht je nach verwendeter Stichart ca. 1 bis 2 cm Überlappung.
Diese Fehler lassen sich leicht vermeiden, indem Sie eine einfache interne Checkliste erstellen, die Konditionierungszeit, Anzahl der Proben, Einheiten und Nahtzugabe enthält.
Messen Sie den Gummizug und passen Sie ihn an die richtige Einlage an
Die Messung der Elastizität ist nur die Hälfte der Anpassungsgleichung. Der Stoff um das Gummiband entscheidet darüber, wie sich die Spannung ausbreitet, wie knackig der Bund aussieht und wie lange das Kleidungsstück seine Form behält. Hier wirkt sich die Auswahl der Einlage direkt auf Ihre elastische Leistung aus.
Elastisches Give ohne sichtbares Band
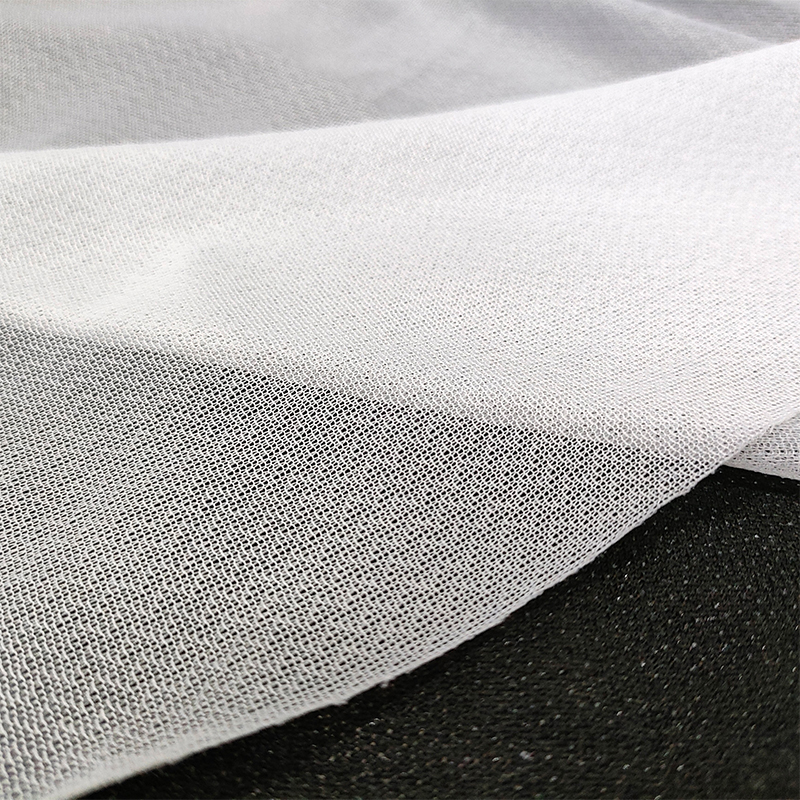
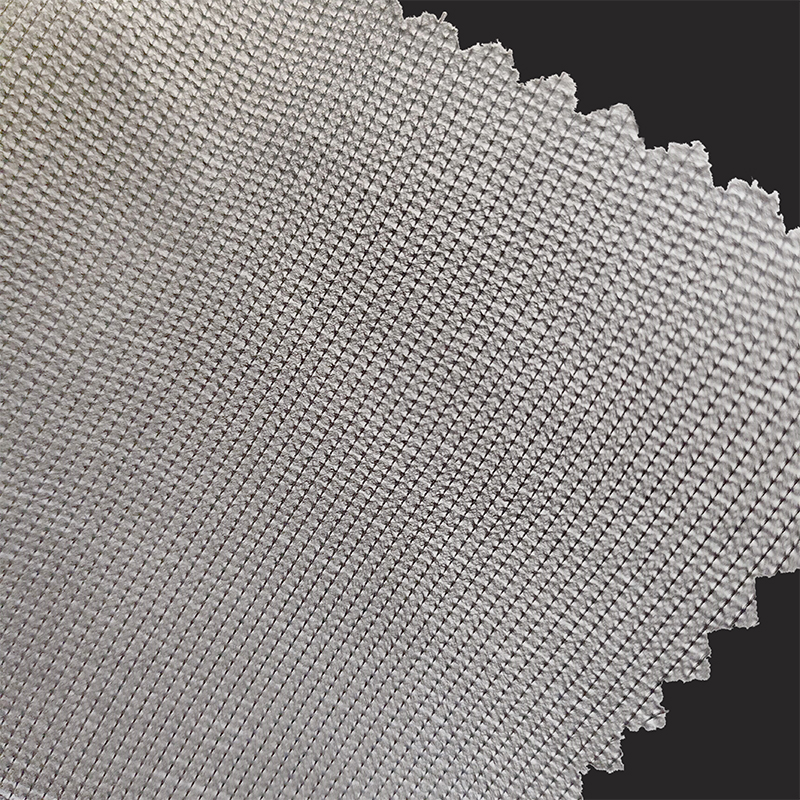
Für Taillenbänder, bei denen Sie eine kontrollierte Dehnbarkeit, aber kein separates Gummiband im Inneren wünschen, Elastische PP-TPU-Einlage Bietet Struktur und eine begrenzte, gleichmäßige Dehnbarkeit. Es verhält sich anders als ein gewebtes Gummiband: Die schmelzbare Beschichtung verankert die Einlage am Obermaterial, sodass der fertige Bund durch die TPU-Folie und nicht durch ein separates Band gedehnt wird. Messen Sie den Oberstoff und die Einlage vor dem Verschmelzen zusammen, da das Dehnungsverhältnis des laminierten Verbundstoffs normalerweise geringer ist als das der Einlage allein.
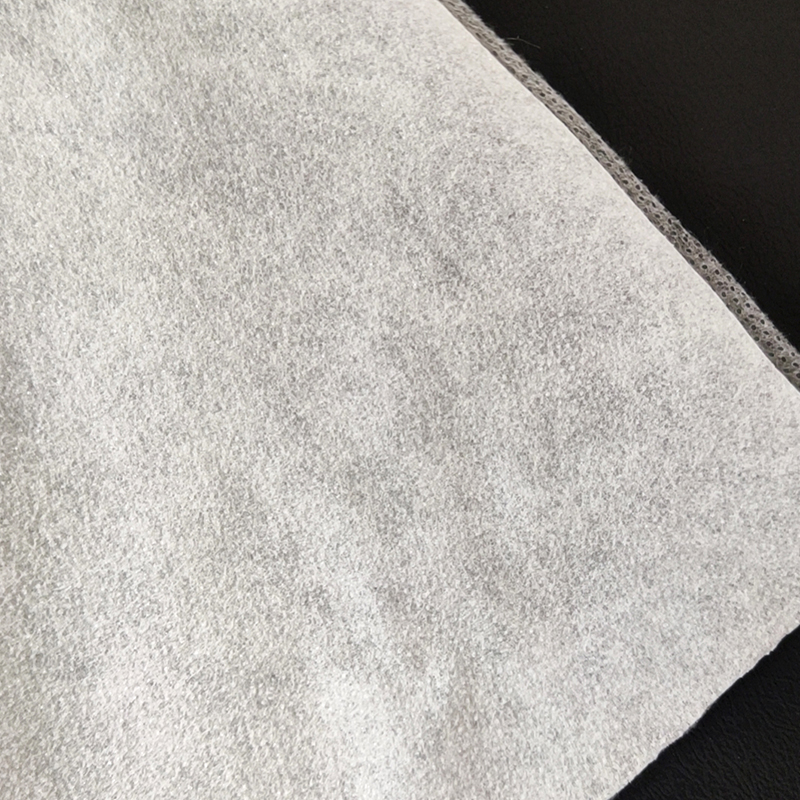 Großhandel mit elastischen PP-TPU-Einlagen, Hersteller, Lieferanten - Rugao Jilin Garm Rugao Jilin Garment Accessories Co., Ltd ist ein chinesischer Hersteller von elastischen PP-TPU-Einlagen und Lieferanten von elastischen PP-TPU-Einlagen. Produkt anzeigen →
 Stabilisierung der Nähte dort, wo elastische Enden zusammentreffen
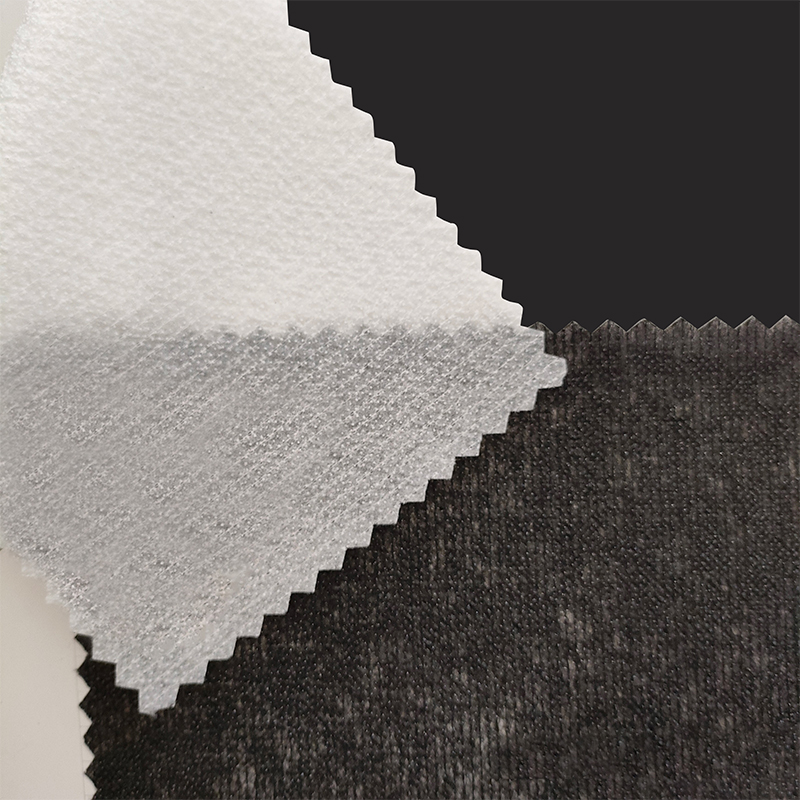
Wo die elastischen Enden in der Seitennaht verbunden oder eingenäht sind, wird eine Schicht aus Thermobond-Vlieseinlage verhindert das Falten der Naht und verteilt die Zugkraft des Gummibandes auf eine größere Fläche. Ohne diese Schicht wird die Naht zu einer harten Stelle, die sich in die Taille einschneidet. Dies ist einer der Gründe Vlieseinlagen werden mit thermischer Bindung und nicht mit chemischer Bindung hergestellt Für diese Anwendungen gilt: Die verschmolzene Bahn verteilt die Belastung gleichmäßiger und erzeugt keine steife Kante an der Nahtzugabe.
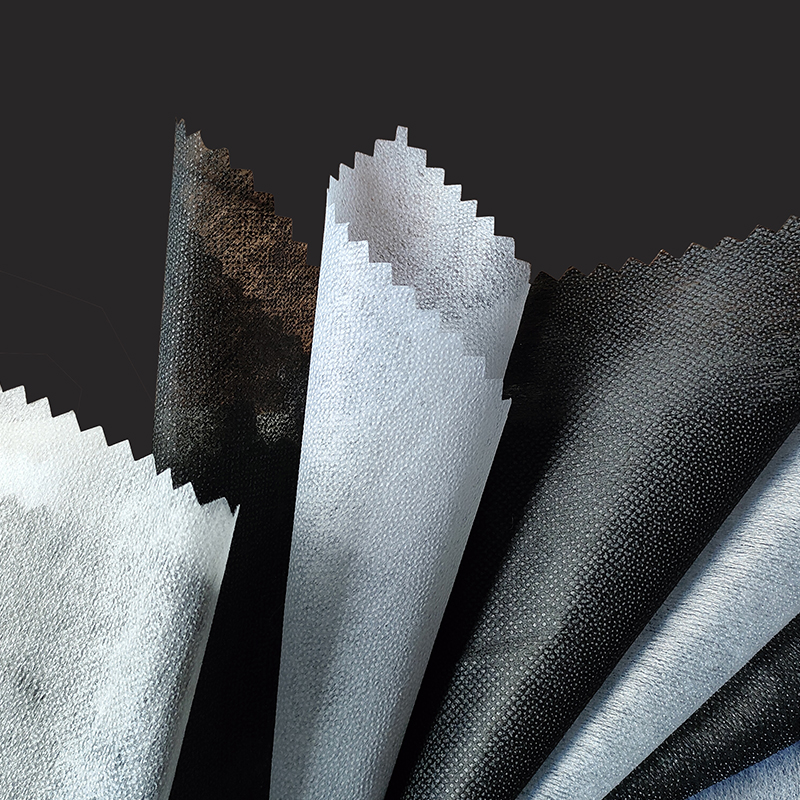 Lieferanten von nicht gewebten, schmelzbaren Einlagestoffen, Fabrik Rugao Jilin Garment Accessories Co., Ltd ist ein chinesischer Lieferant von schmelzbaren Einlagevliesstoffen und Hersteller von Thermobond-Einlagevliesen ... Produkt anzeigen →
 Knackiger Bund und längere Formbeständigkeit
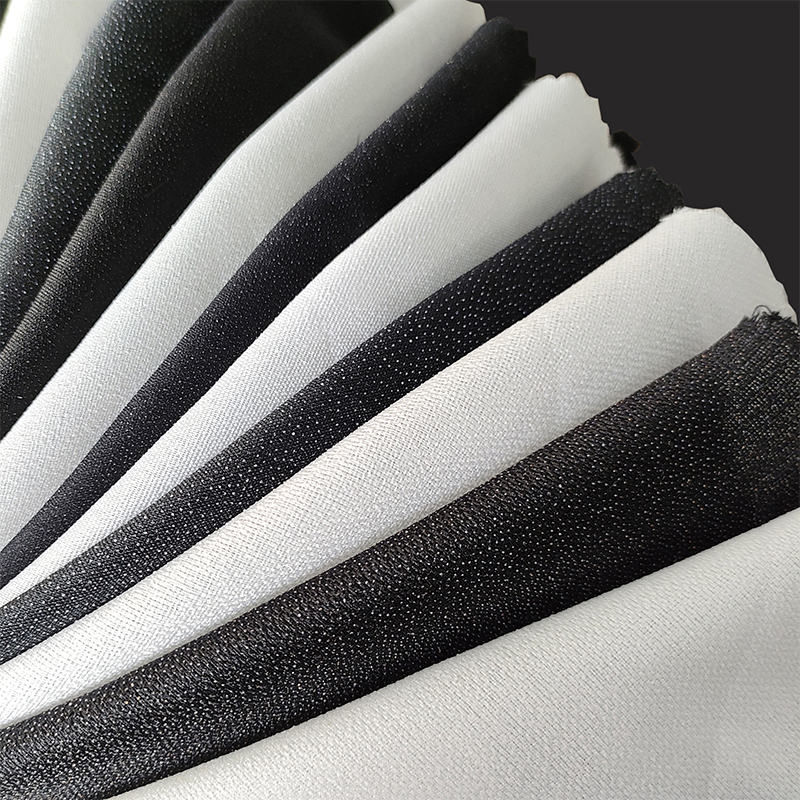
Taillenbänder aus Baumwollsatin oder Twill benötigen eine feste Innenschicht, um zu verhindern, dass das Gummiband beim Tragen überrollt. A Hemdeinlage In die Bundfalte eingearbeitet, hält das Band sowohl bei Herren- als auch bei Damenhosen flach. Dies ist am wichtigsten, wenn das Gummiband im maximalen Dehnungsverhältnis gemessen wird, da ein Rollbund das Gummiband verdreht und seine effektive Länge verkürzt. Kombinieren Sie dies mit Vlieseinlagen, die Falten und Verformungen beim Waschen reduzieren So behält der Bund auch nach mehrmaligem Waschen seine Form.
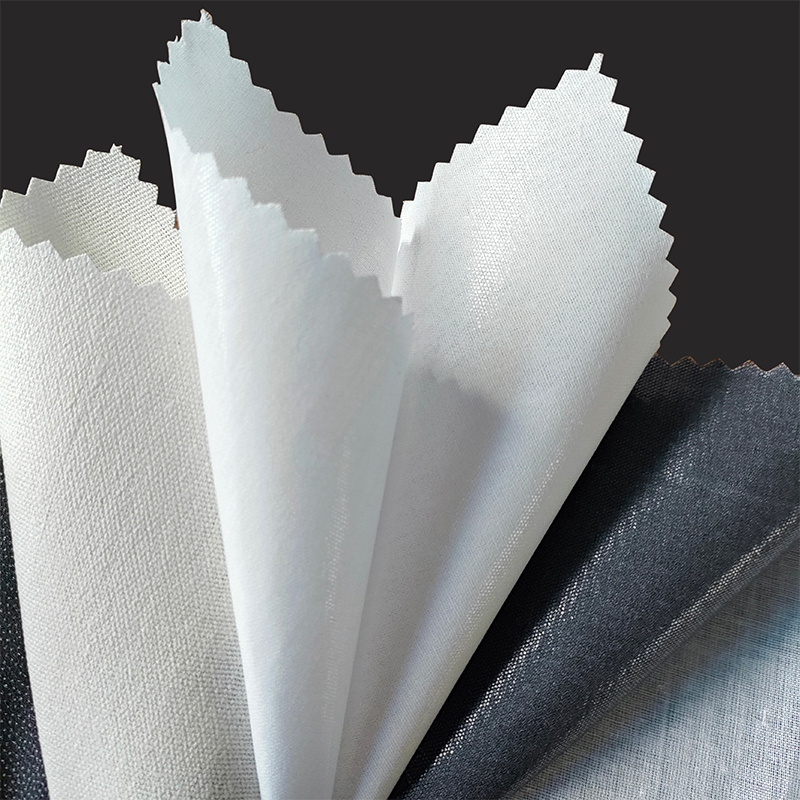 Großhandel für Hemdeinlagen, Hersteller und Lieferanten - Rugao Jilin Garment Acces Rugao Jilin Garment Accessories Co., Ltd ist ein chinesischer Großhandelshersteller für Hemdeinlagen und Lieferanten von Hemdeinlagen. Verwenden Sie reine Baumwolle... Produkt anzeigen →
 Bei Outdoor-Bekleidung, bei der Elastik mit wasserdichten Membranen und versiegelten Nähten interagiert, sollte die Messroutine eine Überprüfung des Verhaltens der Einlage und des elastischen Verbundwerkstoffs bei wiederholter Dehnung umfassen. Unser Leitfaden zum Thema Auswahl von Einlagematerialien für Outdoor-Bekleidung erklärt, wie sich diese Entscheidung sowohl auf die Wasserdichtigkeit als auch auf den Komfort auswirkt.
Häufig gestellte Fragen zum Messen von Gummibändern
Wie misst man die Länge eines elastischen Bandes richtig?
Drücken Sie die beiden Enden zusammen, sodass beide Seiten parallel und so nah wie möglich liegen. Legen Sie das Band flach auf eine harte Oberfläche, ohne es zu dehnen, und messen Sie vom zusammengeklemmten Ende bis zur Falte. Bei einer geschlossenen elastischen Schlaufe beträgt der Gesamtumfang etwa das Doppelte der flachgelegten Länge.
Wie viel kürzer sollte das Gummiband sein als der Taillenumfang?
Schneiden Sie das Gummiband 15 bis 25 Prozent kürzer als die Körpermaße. Verwenden Sie das untere Ende für weiche gestrickte Gummibänder mit allmählicher Erholung und das obere Ende für feste gewebte Gummibänder mit starker Erholung. Der genaue Wert ergibt sich aus der Formel: benötigte Länge = Körpermaß × (100 % − Reduktionsrate).
Wie misst man die Breite und Dicke von Gummibändern?
Die Breite wird über das entspannte Band in der Mitte senkrecht zur Länge gemessen. Die Dicke wird mit einem Messschieber an drei Punkten einer einzelnen Schicht gemessen: an beiden Enden und in der Mitte; Der Durchschnitt der drei Messwerte ist der zum Vergleich verwendete Dickenwert.
Warum ändert sich die Messung der gleichen Elastizität zwischen den Chargen?
Elastik wird durch Feuchtigkeit, Lagerspannung und die Art und Weise, wie es auf die Rolle gewickelt wird, beeinflusst. Eine in einem feuchten Lagerhaus gelagerte Charge kann mehrere Prozent länger sein als die gleiche, trocken gelagerte Charge. Konditionieren Sie die Proben mindestens vier Stunden lang bei kontrollierter Raumtemperatur und vergleichen Sie das Dehnungsverhältnis und die Erholungsrate anstelle nur der entspannten Länge.
Was ist ein gutes Dehnungsverhältnis für Gummibänder?
Die meisten elastischen Bänder in Bekleidungsqualität haben ein Dehnungsverhältnis zwischen 1,5 und 2,5. Unter 1,5 ist das Band zu fest für einen bequemen Bund; über 3,0 verliert es tendenziell an Erholung und lockert sich nach kurzem Tragen. Testen Sie auch die Erholungsrate: Das Band sollte nach der Dehnung auf die doppelte Länge innerhalb von 30 Sekunden wieder mindestens 85 Prozent seiner ursprünglichen Länge erreichen.